My Journey as a Beginner Film Photographer
About a year ago, I started taking a dark room class through my local community college. Back in art college, I’d spent a little time in the dark room, mostly tinkering around with photograms made from collages photocopied onto acetate and exposed onto light sensitive paper. So, I was going in with the barest knowledge of the process.
Aside from the excitement of seeing my picture slowly fade to life through the developer, I remembered basically nothing.

But the magic of the darkroom stayed with me, and I’d been looking for a class for some time. Unfortunately, finding one can be hard. In my experience, you have to live in a major city. Even then there’s no guarantee.
But once I did find a class, I couldn’t wait to get stuck back in. This was my chance to learn the entire process: from loading film, to snapping pictures and developing, to displaying my images and developing my point of view as a photographer.
As expected, in the beginning I made countless mistakes. I totally shredded a role of film trying to rewind it because I didn’t press the release button first. I developed at least two roles of film that, for one reason or another, turned out completely blank. Absolutely gutted. Both times.
But I can’t think of anything more artistically liberating than being an absolute beginner. When the class was over, I wanted to keep going.
This blog is for you, if:
- You’re interested in film photography
- You like art
- You like travel (I’ve been lucky enough to explore several US states recently)
- You’re here for any other reason and feel compelled to keep reading – welcome!
So, let’s dive in…
….with week one of a six week class – during which I’ll be spending three hours a week, once a week, in the dark room.
I began the class with oodles of excitement and one roll of film to develop. I also came with several roles of color film I’d developed and printed at Hunts, my local camera store, and a hope that I’d be able to print them.
(In this class we print only in black and white, and though I guessed the answer was yes, I wasn’t sure).
As it turned out, I could print them! I just needed to use a higher contrast filter in my enlarger.
Developing Film
First off, I developed my film. As anyone based on the East Coast knows, as I write we’re in the grip of a terrible heatwave. All to say, I was not looking forward to holing myself up in a stuffy, pitch-black cupboard-of-a room, hoping to goodness I could load up the film reel on the first try.
It wasn’t so bad. I did it on the second try. Once the film was loaded into the tank, I moved through the chemical steps that comes with developing film. After the final wash I braced myself for the moment of truth: Did I have photographs? I did!
Relieved, I hung my film in the closet to dry, ready for week two.
Printing A Contact Sheet
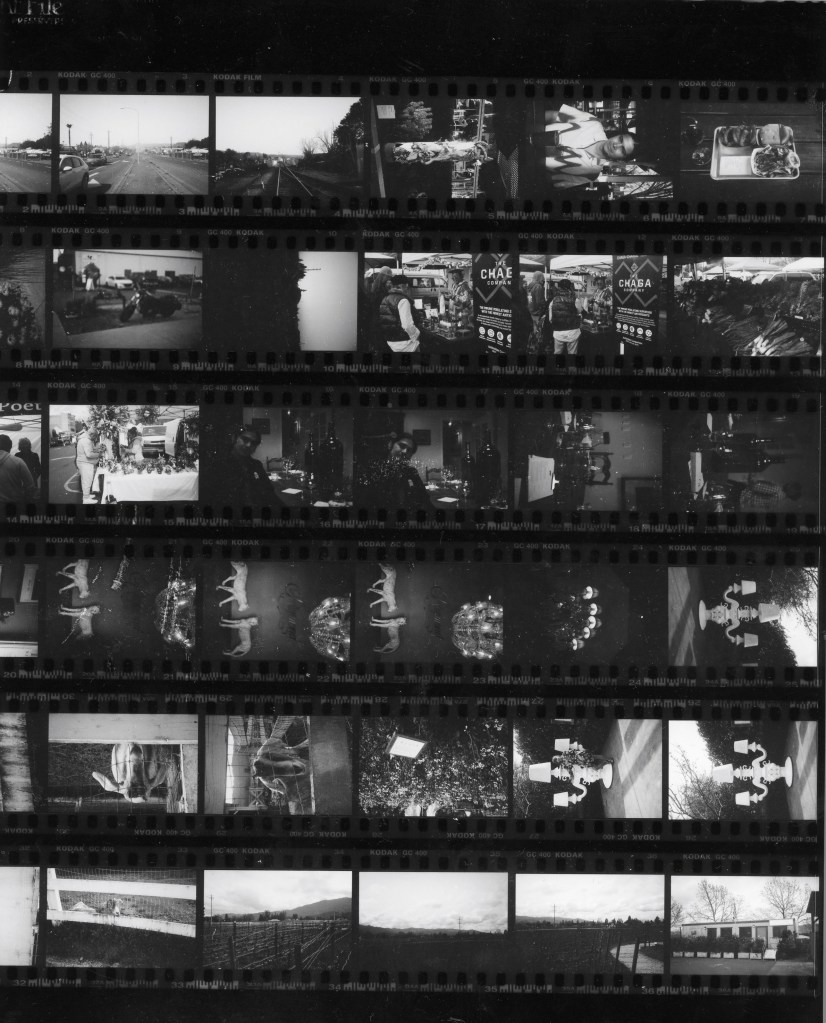
Next, I made a contact sheet with my role of pre-developed, color film, on a high- contrast enlarger. I’d already had these photos printed in color at Hunts. I was excited to see what the difference in effect might be, printing them in black and white.
My Only Print of the Week
As I already know, some weeks yield less prints than others. This was to be a low print-yield week. Fair enough. It was my first week back; I was a little rusty.
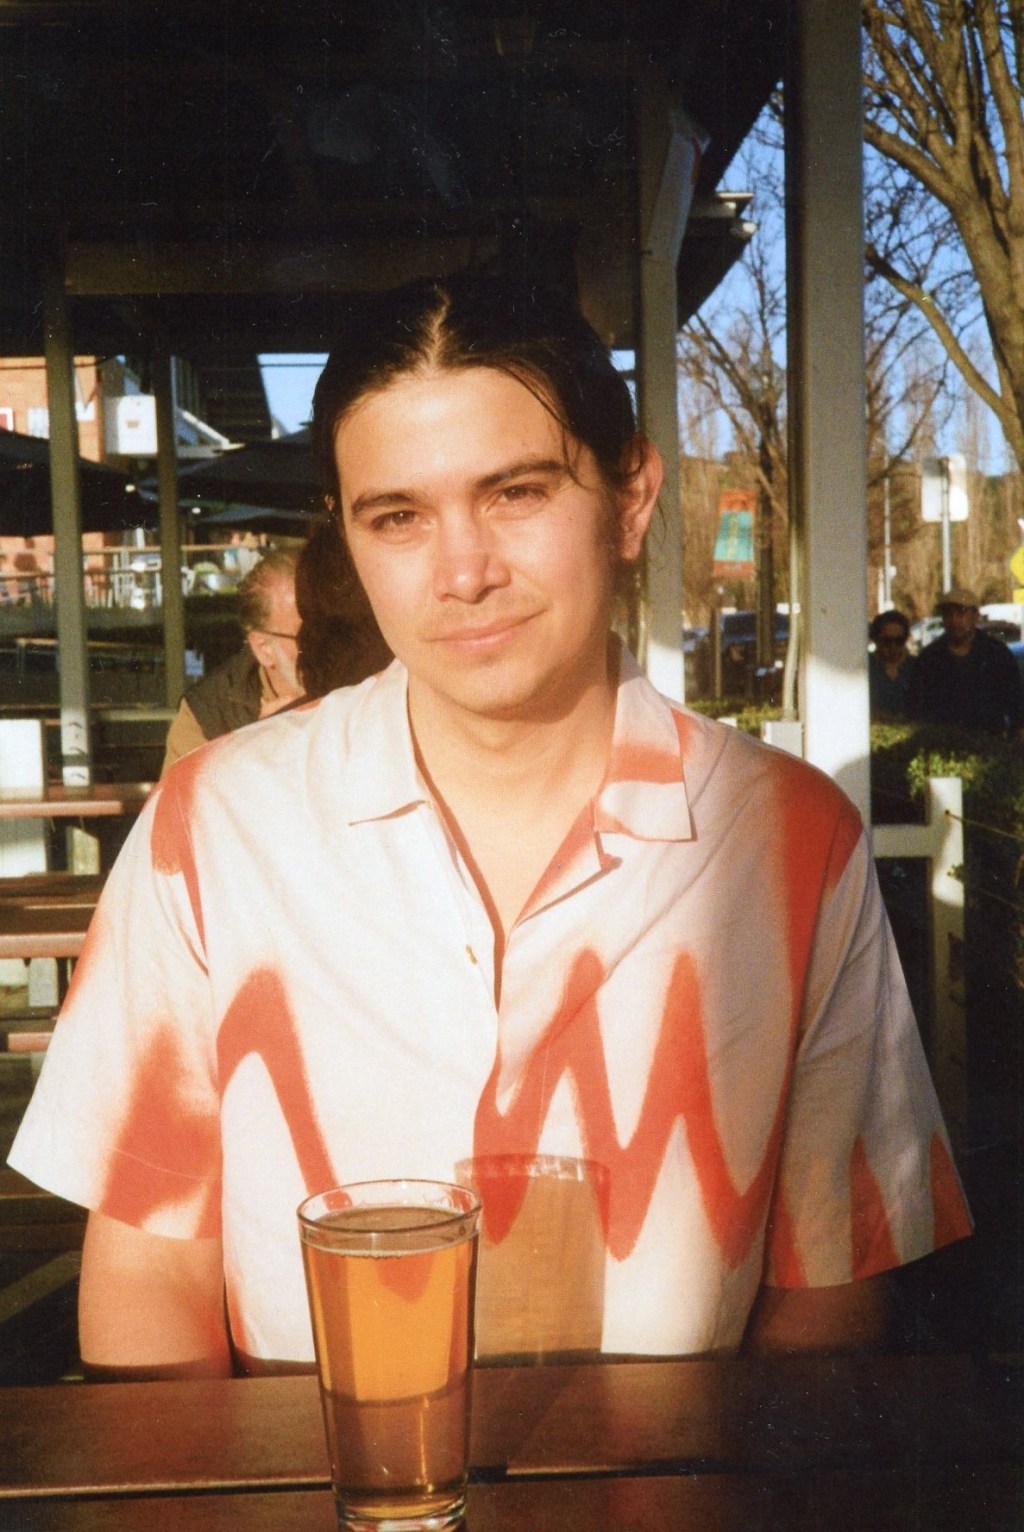
I printed a portrait of my partner, taken in Napa. I’d loved the colors in the original print version, and was excited to see what might translate into a black and white version.

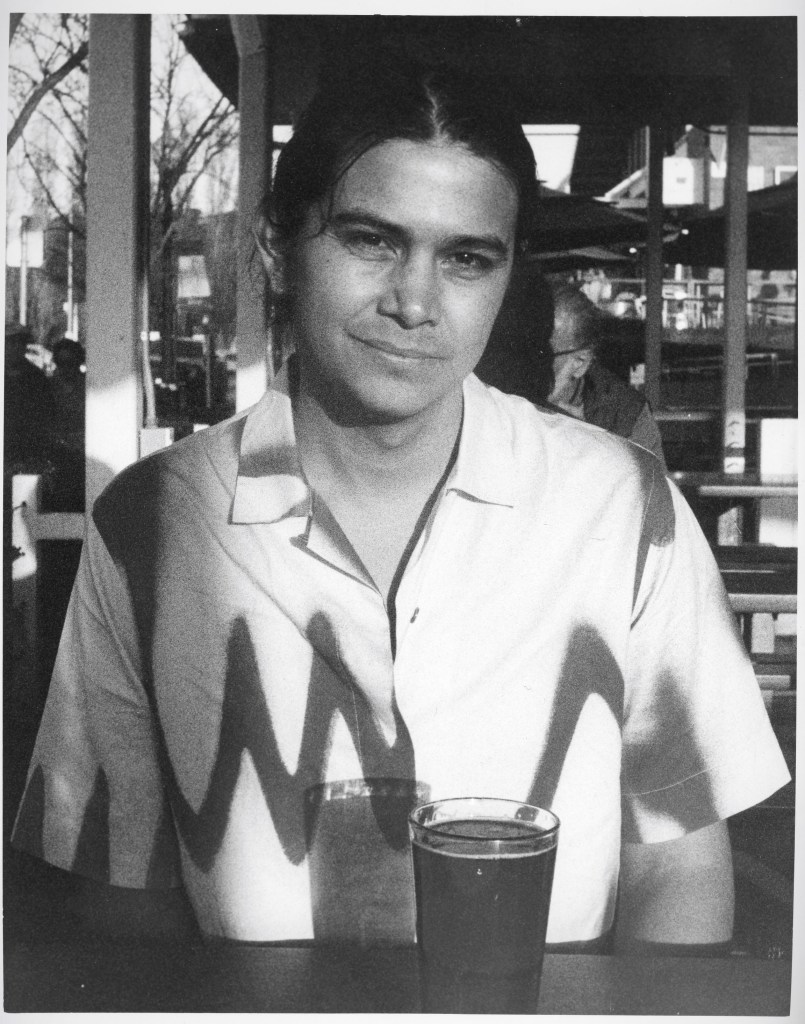
Ha! I accidentally reversed the print by inserting the negative carrier the wrong way. Somewhat embarrassingly I’m only realizing this now. But aside from the obvious, I do still prefer the original, color image.
The deep salmon stripe of the shirt behind (and reflected through) the amber of the beer just work for me. The facial expression seems softer in the color image, and the people in the background are more clearly visible. There’s more to look at.
Still, I’m drawn to the drama and contrast of the second image. I like the heightened grain of the film of the second image, too. Glancing back at my contact sheet, I see more images I’d be interested to print in black and white.
In Conclusion…
Being back in the dark room was a joy. Though I preferred the original, color version of this print, I suspect other photographs that didn’t inspire me so much in color may offer new, or at least different, kind of depth and meaning when printed in black and white.
Next week… I’ll be making a contact sheet and printing from my the role of film I developed this week. If it’s the role of film I think it is (!) it should include images from Boston, Sebastopol, Tamales Bay, and Providence.
Do you prefer working in color, or black and white? What was your favorite image you printed as a brand new film photographer? Let me know in the comments!

Leave a comment